The First Step to Successful Refrigerant Leak Detection
A complete visual examination is the first step in the leak detection process.
Before you pick up that electronic leak detector, take a close look at the hoses, fittings, compressor and condenser. Look for any areas that have a dirty build up or an oily residue. You may even see a hint of green if Ultraviolet dye has been added to the system.
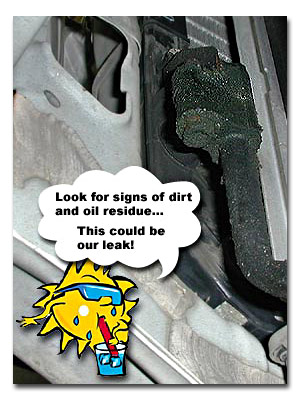
If you find an area that that looks wet with oil, try to determine if that oil is from the component or from another source. Often when you find oil on a compressor body, it's actually from another source such as a bad timing cover gasket or leaky power steering pump. Likewise, what may look like a tell-tale condenser leak may be spilled oil, a leaking transmission cooler, or just ordinary bug guts. In any case, those questionable areas are well worth exploring with an electronic leak detector. In the photo above, we discovered this oily area at the condenser inlet. A Yokogawa H10PM leak detector later confirmed that our 1999 Toyota Corolla had a bad condenser inlet o-ring.